
A Christmas tree can look surprisingly thin when you first take it out of the box. The branches are usually pressed tightly together from storage, so even a beautiful tree may look sparse before you decorate it. Learning how to fluff a Christmas tree properly can make a huge difference without buying extra decorations or replacing the tree.
The good news? You don’t need special skills. With a little patience, a pair of gloves, and about 30–60 minutes, you can spread the branches into a fuller shape that looks balanced from across the room.
Quick Answer: How to Fluff a Christmas Tree
Start at the bottom of the tree and work upward, opening each branch from the center outward. Separate compressed tips, lift some branches upward, push others sideways, and fill visible gaps as you go. Turn the tree occasionally so you can spot thin areas from different angles. A 6–7 foot tree usually takes around 30–45 minutes.
1. Give the Tree Room Before You Start
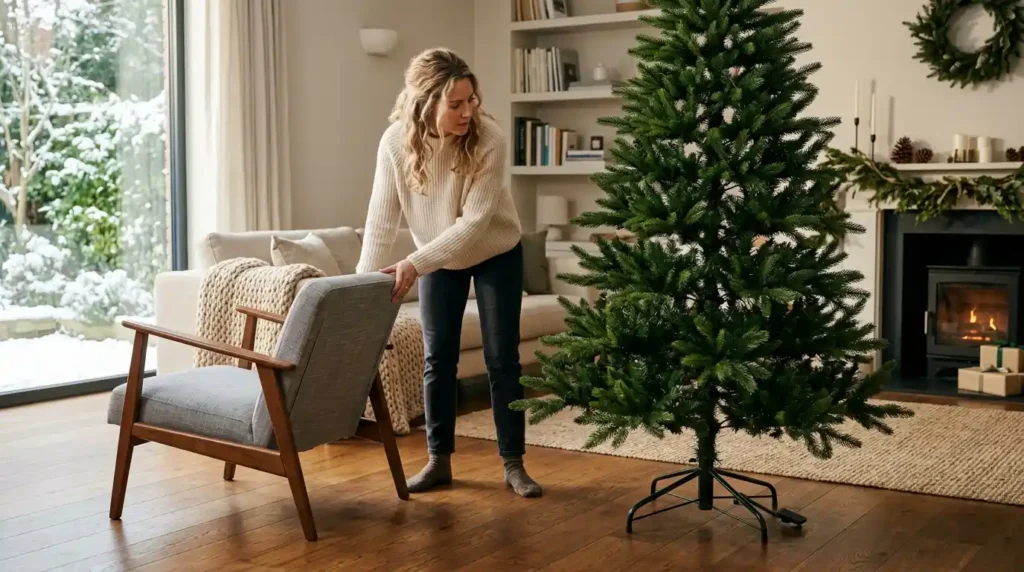
Don’t try to fluff your tree while it is squeezed between furniture, boxes, or other decorations. You need enough space to walk around it and see the branches from every side.
Place the tree where you plan to display it, or leave at least 2 feet of open space around it. Good lighting also helps because small gaps are much easier to spot.
If you’re working with a 7-foot tree, expect to spend roughly 30 minutes on a quick fluff and closer to 45 minutes if you want a very full appearance.
2. Let the Branches Settle First
If your tree has been stored for several months, give the branches a few minutes to relax after you assemble it.
Don’t immediately start bending everything into place. Some branches naturally loosen once the sections are attached and the tree is standing upright. For a newly unpacked tree, waiting 5–10 minutes before detailed shaping can make the job easier.
3. Work From the Bottom Up
The easiest method is to start at the lowest section and gradually move toward the top.
Trying to fluff the upper branches first often means reaching over branches you’ve already shaped. That can flatten your work and make the process frustrating. Work around one section at a time. Once the bottom looks full, move upward.
4. Separate Every Main Branch
Begin with the larger branches that come directly from the central trunk.
Pull each branch gently away from its neighbors. Then spread the smaller tips attached to it. Think of the branch like a hand with fingers. If all the “fingers” point in one direction, the branch will still look flat. Spread them in different directions to create more volume.
5. How to Fluff a Christmas Tree Branch
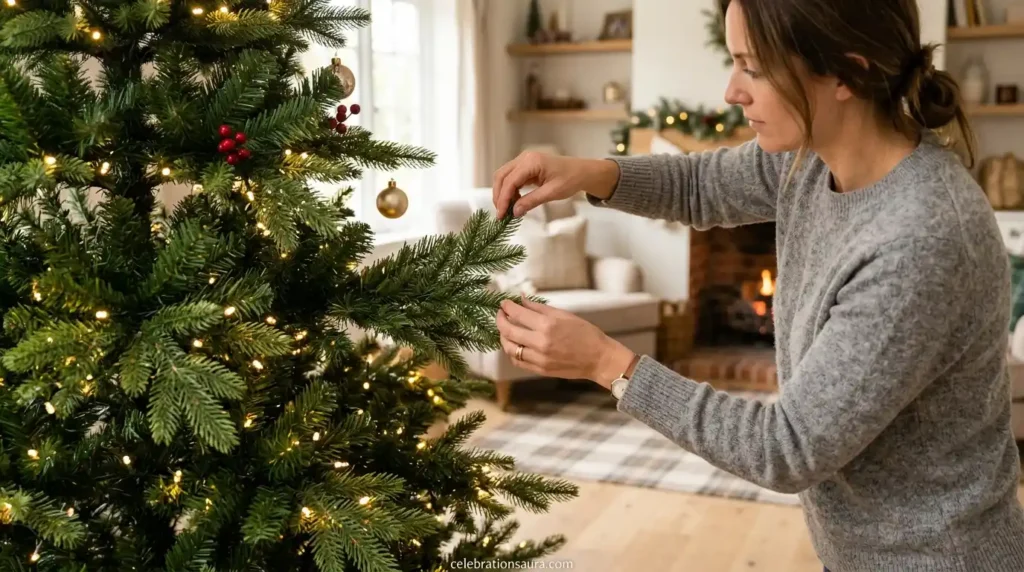
To fluff a Christmas tree branch, start near the trunk and work toward the outer tip.
Lift some smaller tips upward, angle others sideways, and let a few point slightly downward. Avoid arranging every branch in exactly the same direction. A natural-looking branch usually has several different angles rather than a perfectly symmetrical shape.
Try this simple pattern:
- Pull the main branch outward.
- Separate the inner tips near the trunk.
- Move a few tips upward.
- Spread several tips to the left and right.
- Bend a few outer tips slightly downward.
- Check for an open space before moving on.
This small adjustment can make a single branch look much wider.
6. Don’t Ignore the Inner Branches
One of the biggest mistakes people make is fluffing only the branches around the outside.
Look inside the tree as well.
Push some inner branches toward empty spaces around the trunk. These branches help hide the central pole and make the tree look thicker from across the room. If you only spread the outer tips, the tree may still have a noticeable hollow center.
7. Use the “Back Wrap” Trick for Empty Spots
If you see a large gap between two branches, don’t immediately force the surrounding branches toward each other.
Instead, take a nearby inner branch and gently angle it backward into the empty space. This works especially well around the middle of the tree, where gaps can become obvious once ornaments are added.
The goal isn’t to make every opening disappear. A few small spaces help the tree look natural. Large, distracting holes are what you want to fix.
8. How to Fluff a Christmas Tree Fast
If you’re short on time, focus on the areas people see most.
Start with the front and sides, then quickly fill obvious gaps near the bottom and middle. You can leave some of the back less detailed if the tree sits against a wall.
For a faster 20–30 minute fluffing session:
- Assemble the tree completely.
- Start at the bottom.
- Open the main branches first.
- Spread the outer tips.
- Fill large gaps.
- Rotate the tree.
- Fix thin areas.
- Finish the top.
This gives you a presentable tree without spending an hour perfecting every single tip.
9. How to Fluff a Christmas Tree Step by Step
A careful approach works best when you have plenty of time and want the tree to look polished.
1: Assemble all sections securely.
2: Check that the tree stands straight.
3: Start with the lowest section.
4: Pull the main branches outward.
5: Separate compressed tips near the trunk.
6: Spread the tips in different directions.
7: Fill noticeable spaces between branches.
8: Rotate the tree and inspect it from another angle.
9: Move to the next section.
10: Finish the top branches last.
Once you reach the top, step several feet away. The overall shape is easier to judge from a distance than with your face inches from the branches.
10. How to Fluff a New Christmas Tree
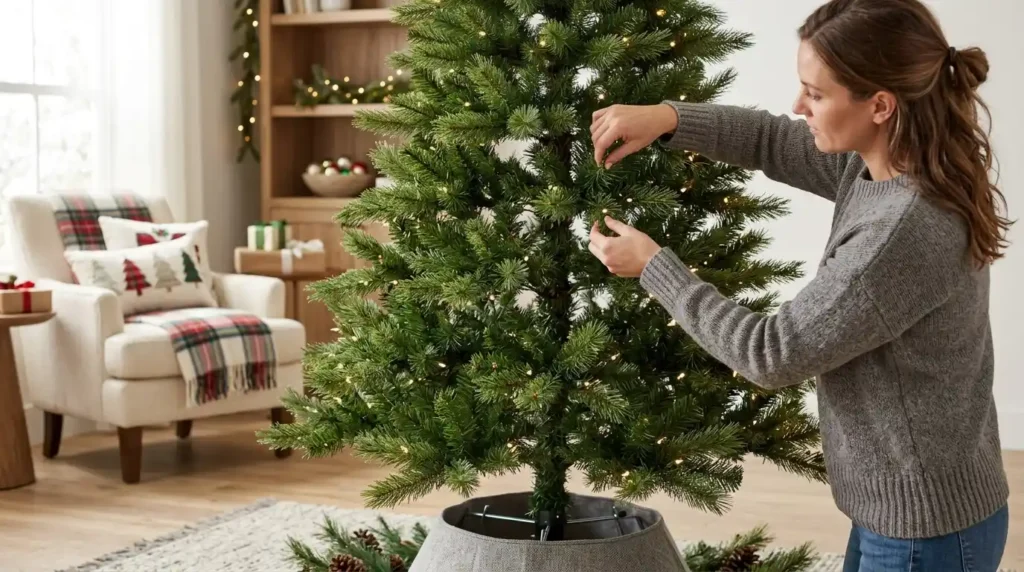
A new tree often needs more attention than one you’ve used for several seasons.
Its branches have spent a long time compressed inside packaging, so don’t judge the tree by how it looks immediately after opening the box.
Give yourself around 45 minutes for a first detailed fluff on a 6–7 foot tree. You may need less time in future years because you’ll already know how the sections fit together.
Keep the manufacturer’s product photo nearby if you still have it. It can help you understand the intended shape of the tree.
11. Wear Gloves While Fluffing
Gloves aren’t essential, but they’re useful if the branch tips are stiff or scratchy.
A basic pair of gardening or work gloves can protect your fingers while you spend 30–45 minutes separating dozens of branches.
Long sleeves are also helpful, especially when working on a taller tree. Don’t rush because you’re worried about your hands. Slow, controlled movements make it easier to shape the branches without bending them too aggressively.
12. How to Fluff a Christmas Tree With Lights
If your tree already has lights attached, fluff the branches carefully around the light wires.
First, plug the lights in and check that the entire strand is working. Finding a dead section after you’ve finished decorating is much more annoying than discovering it before the ornaments go on.
As you spread the branches, make sure you don’t trap or sharply bend the wires. For a pre-lit 7-foot tree, allow roughly 30–45 minutes for careful shaping and another few minutes to check the lights afterward.
13. Shape the Tree From Different Angles
Don’t spend the entire time looking at the tree from one position. After completing each major section, walk around it.
A branch that looks perfectly placed from the front may create a large hole when viewed from the side. Turning the tree also helps you notice areas where the branches are leaning too heavily in one direction. If the tree is positioned against a wall, give the front and visible sides the most attention.
14. Create a Fuller Bottom Section
The lower part of the tree carries a lot of visual weight, especially when presents sit underneath it.
Spread the bottom branches wide enough to create a stable silhouette. Move some tips outward and others upward so the section doesn’t look like a flat skirt. For a tree placed in a large living room, a fuller bottom can also help the tree look proportional beside sofas, cabinets, and other furniture.
15. Make the Middle Section Look Balanced
The middle is where many sparse trees show their biggest gaps.
After spreading the main branches, look directly through the tree. If you can easily see the trunk in several places, move a few inner branches into those spaces.
Don’t completely close every opening. Instead, create layers of branches so the eye doesn’t immediately travel through the tree. This is especially useful before adding ribbon, garland, or large ornaments.
16. Give the Top a Lighter Shape
The top doesn’t need the same heavy fullness as the bottom. Keep the upper branches slightly more open while making sure the silhouette stays even.
Check the top from several feet away. If one side looks noticeably taller or heavier, gently adjust the nearby branches.
For a classic Christmas tree shape, the branches should gradually become shorter as they move toward the top.
17. Use a Tree Fluffer Carefully
A commercial tree fluffer can help separate compressed tips, particularly if you’re decorating several trees each year.
However, you don’t need one for a single Christmas tree. If you already own a tree fluffer, use it gently and follow the product directions. Don’t force tightly packed branches apart with excessive pressure.
For most 6–8 foot trees, your hands can do the detailed shaping more accurately because you can feel where the gaps are and adjust individual tips.
18. Can You Fluff a Christmas Tree With a Hair Dryer?
A hair dryer usually isn’t necessary for fluffing a Christmas tree.
If you’re considering one because the branches are stubborn, avoid using high heat close to the foliage, wiring, or light components. Heat can potentially damage materials, especially on a pre-lit tree.
Manual shaping is safer and gives you much more control. If a branch has been tightly compressed in storage, gently bending and separating it by hand is usually enough.
19. Check the Tree With the Lights On
Lighting changes how the tree looks.
Turn the lights on after completing a section and step back several feet. Dark areas can reveal gaps that weren’t obvious when the lights were off.
You may notice that one side looks brighter because the branches are positioned differently. Make small adjustments rather than rearranging the whole section. This five-minute final check can make a noticeable difference before you start adding ornaments.
20. Fluff Before Adding Decorations
Always finish the main shaping before hanging ornaments. Trying to fluff branches after decorations are attached can knock off ornaments, tangle ribbon, and make the process much slower.
A good order is:
Assemble → fluff → check shape → check lights → add ribbon or garland → hang ornaments → add finishing touches
This also gives you a better idea of where you actually need decorations.
21. Don’t Make Every Branch Identical
Perfectly matching branches can make a tree look stiff.
Instead, vary the direction slightly.
One branch can point upward while the next angles sideways. Some tips can sit higher, while others fill spaces lower down. You don’t want random bending. You want controlled variation that gives the tree depth. This is one of the simplest ways to make a boxed tree feel more natural.
22. Fix the Tree From Across the Room
This is one of the most useful final checks.
Stand about 6–10 feet away from the tree and look at the whole silhouette.
Ask yourself:
- Is one side noticeably wider?
- Can I see large gaps?
- Does the top lean?
- Does the bottom look too narrow?
- Can I see the central trunk?
- Are the lights spread evenly?
Fix only the areas that stand out.
You don’t need to keep touching every branch once the overall shape looks balanced.
How Long Does It Take to Fluff a Christmas Tree?
A 6-foot tree can take about 25–40 minutes, while a 7-foot tree may take around 30–45 minutes when you want a fuller appearance. Larger 9–10 foot trees can take 45–60 minutes or longer. Your first attempt may take longer because you’re learning how the branches move. After a few seasons, you’ll probably become much faster.
| Tree Size | Quick Fluff | Detailed Fluff |
|---|---|---|
| 4–5 feet | 15–20 minutes | 20–30 minutes |
| 6 feet | 20–30 minutes | 30–40 minutes |
| 7 feet | 25–35 minutes | 35–45 minutes |
| 8 feet | 30–40 minutes | 40–55 minutes |
| 9–10 feet | 40–50 minutes | 45–60+ minutes |
These are practical estimates rather than strict rules. Branch density, storage, and how full you want the tree to look can change the timing.
What If the Tree Still Looks Sparse?
If your tree still looks thin after fluffing, don’t immediately assume something is wrong with it.
First, check the center. You may have focused too much on the outside tips.
Next, look for branches that are pointing in the same direction. Spread them around the empty areas.
You can also use ribbon or garland to add visual depth. Large ornaments work well near wider gaps, while smaller ornaments can fill spaces closer to the outer tips.
If the tree is against a wall, concentrate your effort on the visible three sides.
Common Christmas Tree Fluffing Mistakes
A few small mistakes can make the job take longer.
Starting at the top: You’ll probably flatten the upper branches while working below.
Only spreading the outer tips: The center will remain visibly empty.
Making every branch symmetrical: The tree can look unnaturally stiff.
Pulling branches too hard: Aggressive bending can damage branch hinges or wires.
Skipping the light check: A faulty light section becomes harder to troubleshoot after decorating.
Decorating too soon: Ornaments and ribbon get in the way when you still need to shape branches.
Never stepping back: You can spend 20 minutes fixing tiny details that aren’t even visible from across the room.
Best Fluffing Method for Different Situations
The best approach depends on how much time you have and where the tree sits.
| Situation | Best Approach |
|---|---|
| Tree against a wall | Focus on front and two visible sides |
| Tree in the center of a room | Fluff all four sides |
| Short on time | Fix large gaps first |
| New tree | Allow extra time for detailed shaping |
| Pre-lit tree | Check lights before and after fluffing |
| Tall tree | Work section by section from bottom upward |
| Small apartment | Focus on the visible silhouette |
| Family decorating | Have one person fluff while another checks the shape |
How to Keep Your Tree Looking Full All Season
Once you’ve finished fluffing, try not to constantly move the branches.
When adding ornaments, place heavier decorations closer to stronger inner branches. Avoid hanging everything from the outermost tips.
If you need to move a branch later, make a small adjustment instead of reshaping the entire section.
At the end of the season, store the tree carefully. Keeping the branches protected during storage can make next year’s setup much easier.
Final Thoughts
Learning how to fluff a christmas tree is one of those holiday jobs that looks tedious for the first few minutes and surprisingly satisfying once the branches start opening. A compressed, sparse-looking tree can become dramatically fuller simply by separating its inner branches and changing the direction of its tips.
Give yourself about 30–60 minutes for a typical 6–7-foot tree, wear gloves, and work patiently from the bottom upward. Most importantly, do not chase perfection branch by branch. Step back, look at the whole silhouette, and adjust the areas that still look flat or uneven. The result should feel naturally full rather than perfectly symmetrical.
Once the shape looks right, add your lights and favorite ornaments. Then step back, enjoy that freshly decorated glow, and make the finished tree your own.
FAQs
Yes, fluff the tree before adding ornaments, ribbon, or garland. You need clear access to the branches so you can spread them without knocking decorations off.
Spread the inner branches as well as the outer tips, vary the branch directions, and fill large gaps from several viewing angles. This creates more depth and volume.
Most 6–7 foot trees take about 30–45 minutes for a detailed fluff. A quick version can take around 20–30 minutes.
No, but gloves can protect your hands from stiff or scratchy branch tips. Thin gardening or work gloves are usually enough.
You generally don’t need a hair dryer. Hand shaping gives you better control and avoids exposing foliage or light components to unnecessary heat.
Discover More
20+ Easy Pipe Cleaner Christmas Tree Ideas That Look Amazing
Elegant Christmas Tree: 21 Classy Decorating Ideas for 2026
21 Christmas Party Themes for Every Celebration in 2026
Easy Christmas Treats: 25 Simple Ideas Everyone Will Love
Snoopy Christmas Decorations: 21 Cute Ideas for 2026
